
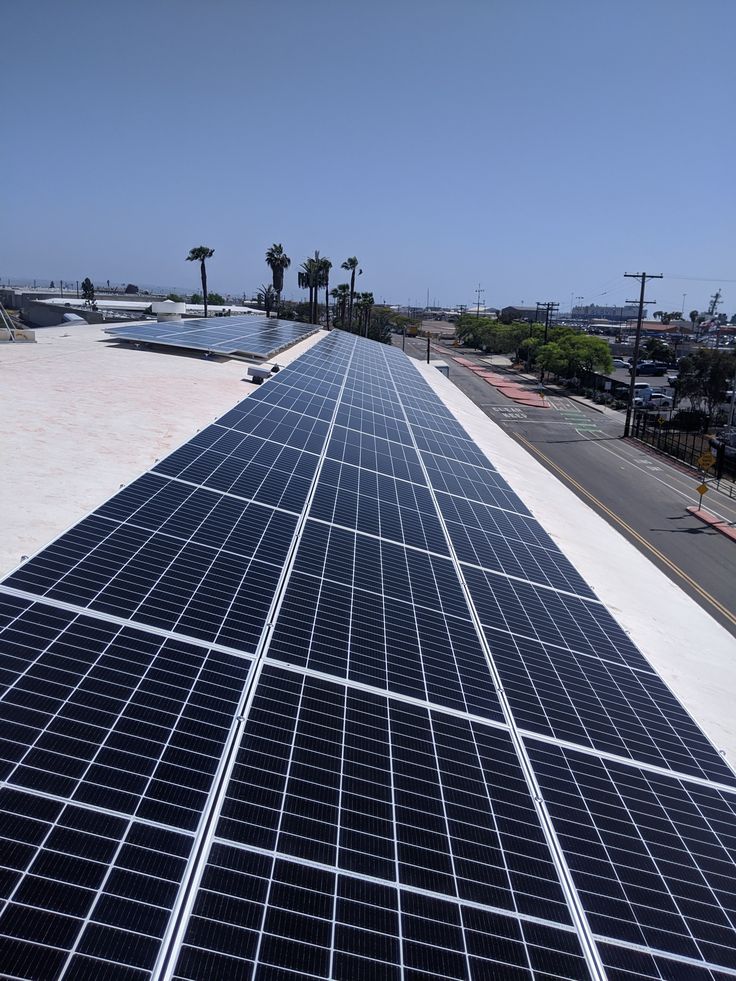
The solar inverter is the critical link between your solar panels and your property’s electrical system, transforming the raw DC power into usable AC electricity. Proper installation of the solar inverter is paramount for ensuring the safety, efficiency, and longevity of your entire solar power system. Rushing this step or overlooking crucial details can lead to reduced performance, frequent faults, and even safety hazards. This article outlines the key considerations for “Installing a solar inverter,” providing essential guidance for a successful and reliable setup.
1. Choosing the Right Location
The placement of your solar inverter significantly impacts its performance and lifespan.
- Temperature Management: Inverters generate heat during operation, and excessive heat can reduce efficiency and accelerate degradation.
- Ideal: A cool, dry, well-ventilated area, such as a garage, utility room, or shaded side of a building.
- Avoid: Direct sunlight, enclosed spaces with poor airflow, or areas prone to extreme temperatures (both high and low).
- Accessibility: The inverter should be easily accessible for routine inspections, maintenance, troubleshooting, and potential future upgrades or replacements.
- Protection from Elements: While many inverters are rated for outdoor use (e.g., IP65), protecting them from direct rain, snow, and prolonged exposure to harsh weather conditions can extend their life. Consider a protective cover or enclosure if outdoor installation is unavoidable.
- Proximity to Panels and Electrical Panel: Keeping the inverter close to both the solar array (to minimize DC cable runs and voltage drop) and the main electrical panel (for efficient AC connection) can reduce installation costs and energy losses.
2. Proper Mounting and Ventilation
Secure mounting and adequate ventilation are non-negotiable for inverter health.
- Secure Mounting: The inverter must be securely mounted to a sturdy, non-combustible surface (e.g., a wall). Ensure it’s level and firmly attached to prevent vibration or accidental dislodgement.
- Clearance: Follow the manufacturer’s recommendations for minimum clearance around the inverter (top, bottom, and sides). This allows for proper airflow and heat dissipation. Never block the inverter’s vents.
- Airflow: Ensure there’s a clear path for air to circulate around the unit. If installing in an enclosed space, consider additional ventilation like exhaust fans.
3. Electrical Connections and Wiring
Correct and safe electrical connections are fundamental to the inverter’s operation and system safety.
- DC Wiring: Connect the DC input from the solar panels to the inverter according to the manufacturer’s specifications, ensuring correct polarity (positive and negative). Use appropriate wire gauges to minimize voltage drop.
- AC Wiring: Connect the AC output of the inverter to your property’s main electrical panel. This connection must comply with all local electrical codes and utility requirements.
- Grounding: Proper grounding of the inverter and the entire solar system is critical for safety, protecting against electrical surges and faults.
- Disconnect Switches: Install clearly labeled AC and DC disconnect switches as required by code. These allow for safe shutdown of the system for maintenance or emergencies.
- Conduit and Protection: All wiring should be properly enclosed in conduit or protected from physical damage, UV exposure, and pests.
4. Compliance with Codes and Regulations
Solar inverter installation is subject to strict electrical and building codes, as well as utility interconnection requirements.
- Local Building Codes: Ensure the installation adheres to all local building, fire, and electrical codes.
- Utility Requirements: The inverter must meet the utility company’s specific requirements for grid interconnection, including anti-islanding protection (which automatically shuts down the inverter during a grid outage to protect utility workers).
- Permitting: Obtain all necessary permits before installation begins. Your solar installer should handle this process.
- Professional Installation: Due to the complexity and safety aspects, solar inverter installation should always be performed by a qualified, licensed solar electrician or installer.
5. System Commissioning and Monitoring Setup
Once physically installed, the inverter needs to be properly activated and configured.
- Commissioning: The installer will power up the system, verify all connections, and ensure the inverter is operating correctly.
- Firmware Updates: Install any necessary firmware updates for the inverter.
- Monitoring System Setup: Configure the inverter’s monitoring system (Wi-Fi, Ethernet, cellular) to allow you to track your system’s performance via an app or web portal. This is vital for ongoing performance checks and early fault detection.
Conclusion
Installing a solar inverter is a precise process that requires careful planning and execution. By paying close attention to location, mounting, electrical connections, code compliance, and proper commissioning, businesses and homeowners can ensure their solar inverter operates safely and efficiently, maximizing energy production and contributing to the long-term success of their solar power investment. Always rely on certified professionals for inverter installation to guarantee optimal performance and safety.


